The barrier to entry for podcasting has never been lower, but walking into the gear world can feel like a total minefield. If you browse online forums, gear snobs will tell you that you are invisible unless you spend thousands on complex mixing boards and high-end studio infrastructure.
Let’s set the record straight: your audience doesn’t care about the price tag on your gear. They care about clarity. They want to hear your insights without straining their ears over background hiss or room echo.
If you are building your first studio setup, here is the essential, zero-bloat gear framework you need to record professional-grade episodes without overcomplicating your workspace.
1. The Core Engine: A Dynamic Microphone
If you take only one piece of advice from this site, let it be this: never use a sensitive condenser microphone in an untreated room. Condenser microphones (like the Blue Yeti) are built for soundproof studio booths; they will pick up your air conditioner, your desk vibrations, and the echo bouncing off your naked walls.
Instead, buy a dynamic microphone. Dynamic microphones are incredibly forgiving because they only accept audio signals that are directly in front of the grill.
- The Budget USB Option: The Audio-Technica ATR2100x plugs straight into your computer via a standard USB cable, sounds fantastic, and includes an XLR port for when you upgrade your studio setup later.
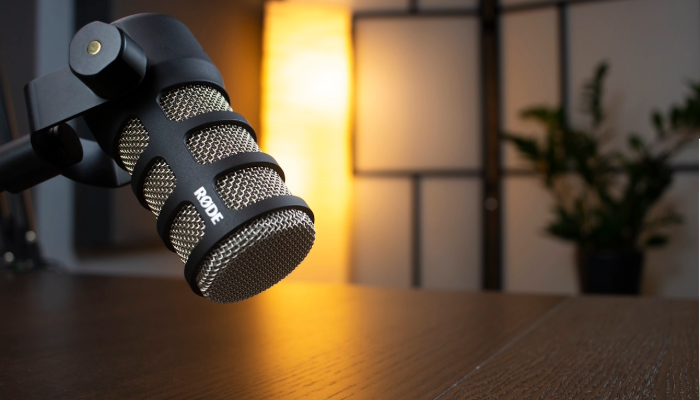
- The Broadcast Standard: The Shure MV7 or Rode PodMic deliver that deep, warm, intimate radio tone effortlessly.
2. The Monitor: Closed-Back Headphones
You cannot record or mix an episode accurately using wireless Bluetooth earbuds. Bluetooth introduces a subtle audio latency delay, and consumer earbuds artificially color your sound by boosting the bass.
Invest in a solid pair of professional, closed-back studio headphones like the Audio-Technica ATH-M20x or Sony MDR-7506. Monitoring your audio in real-time ensures you catch popping breath sounds, clipping volume meters, or background noises before they ruin a 60-minute recording.
3. The Interface: Connecting XLR to Computer
If you step up to a professional XLR microphone, you cannot plug it directly into your headphone jack. You need an Audio Interface to convert that analog microphone signal into digital data your computer can read.
- Look at the Focusrite Scarlett Solo for simple, single-person setups. It provides incredibly clean internal volume pre-amps without adding static hiss to your track.
4. Structural Accessories: Pop Filters & Boom Arms
- Pop Filter: A simple mesh screen placed in front of your mic capsule. It acts as a mechanical shield, catching the sudden blasts of air from your mouth when you say words starting with “P” or “B,” keeping your audio from clipping into the red.
- Boom Arm: Table tripod stands pick up every single mouse click and desk bump. A clamped, scissor boom arm lifts your microphone completely off your desk surface and allows you to position the capsule perfectly right in front of your lips.
5. Production Utility: Recording & Editing Software
Your Digital Audio Workstation (DAW) is where your media assets are captured and assembled. You do not need to drop a massive monthly subscription fee here starting out:
- Audacity is completely free, open-source, and handles basic tracking beautifully.
- Descript is a game-changer for business professionals, allowing you to edit your audio files by simply deleting words out of an automatically generated text transcript.
Keep your setup lean, invest your capital into a quality dynamic capsule, and prioritize clean execution over flashy equipment boxes.